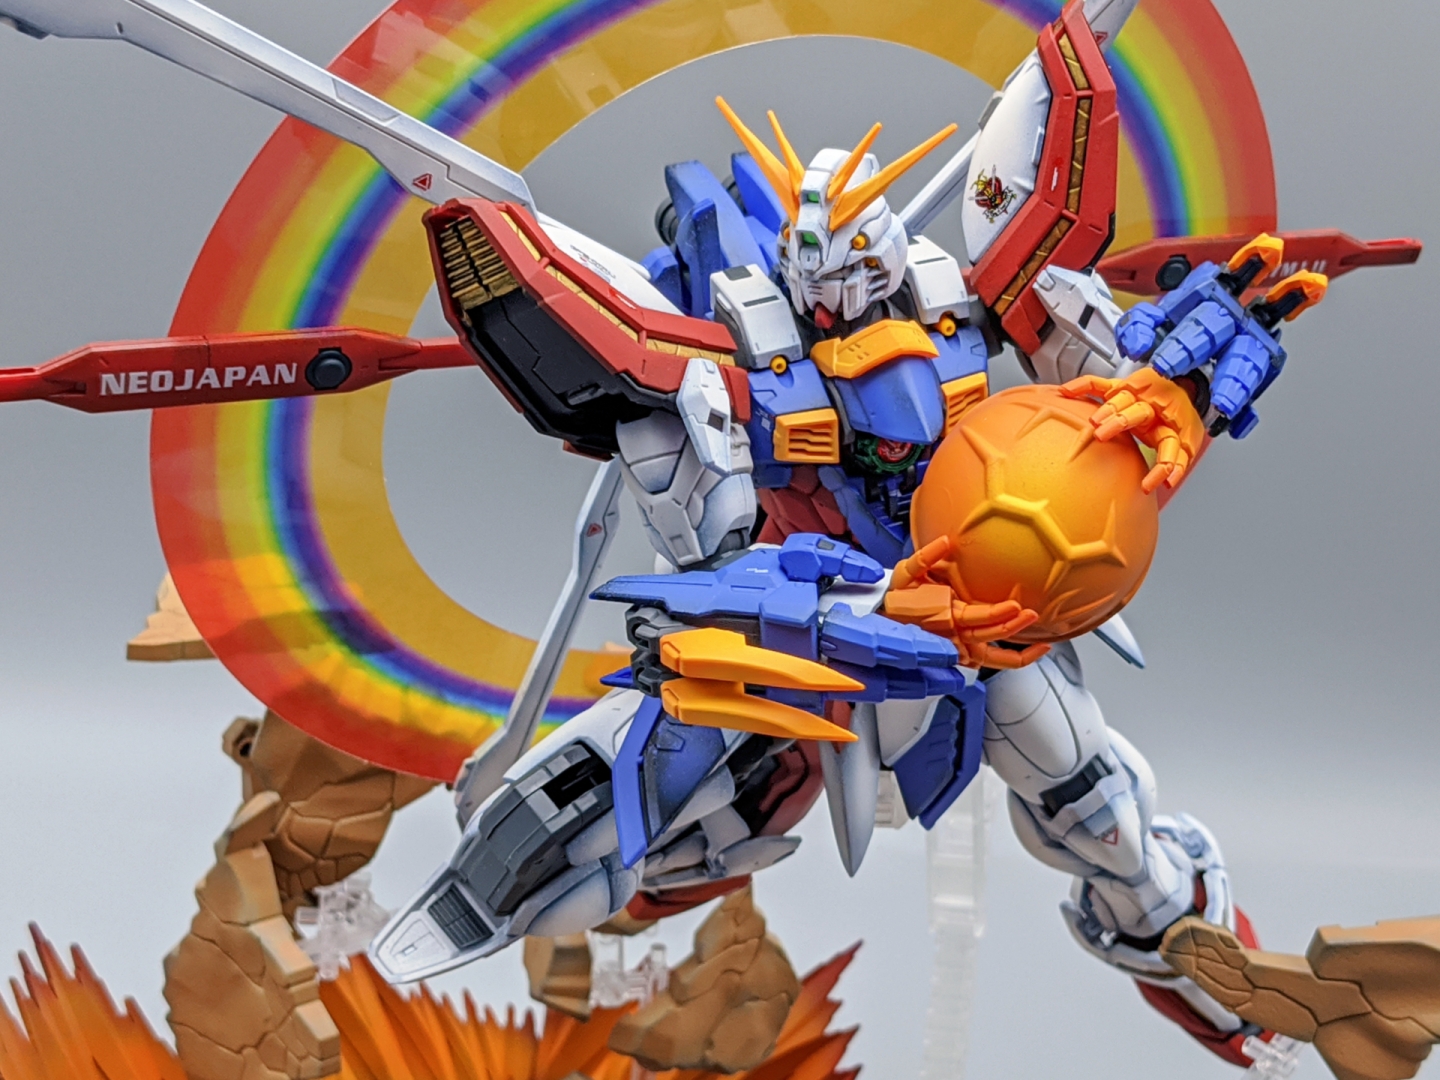
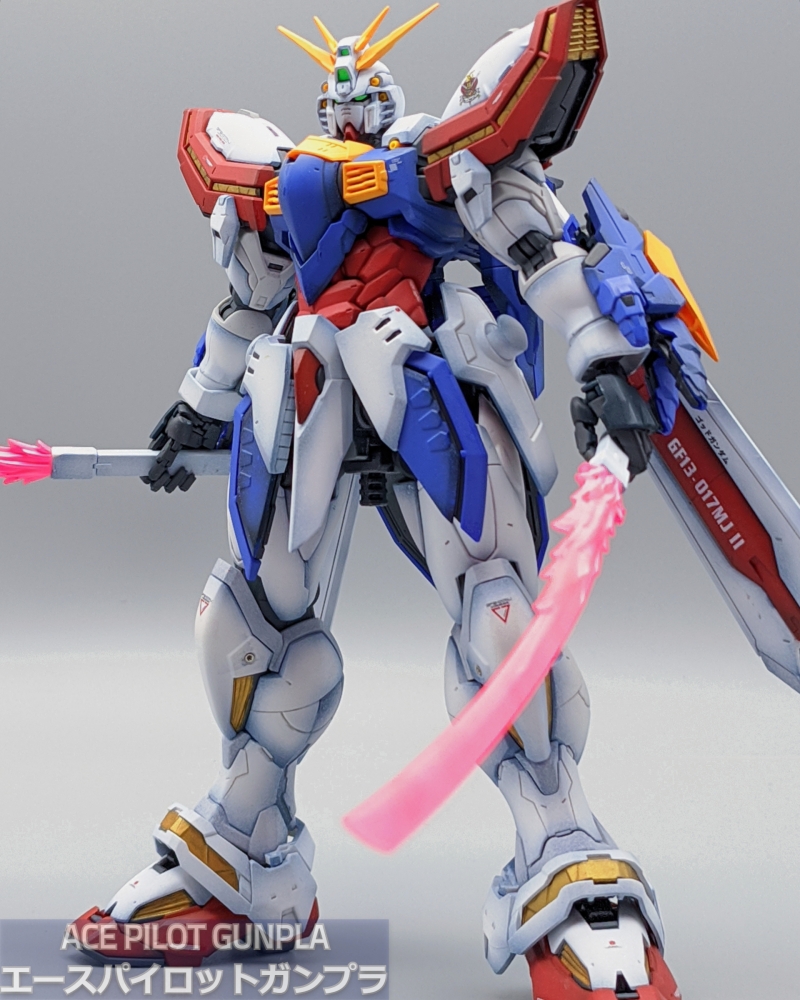
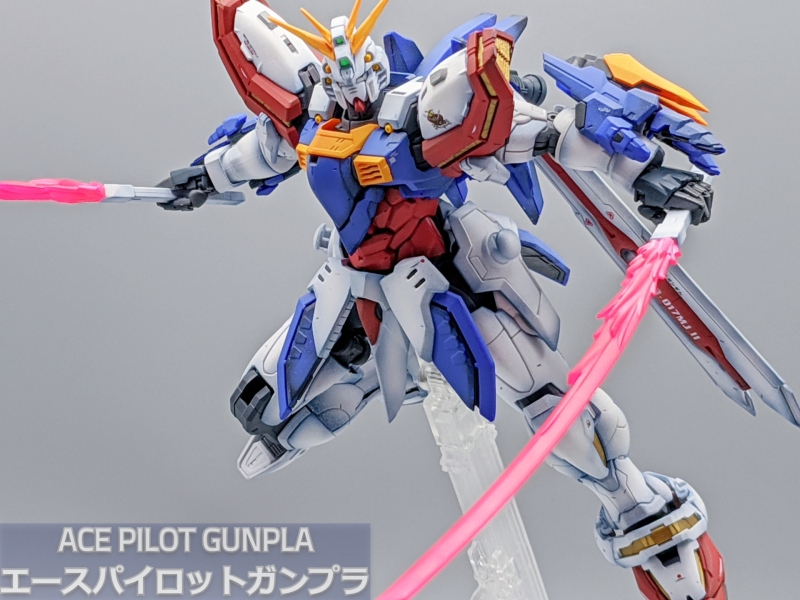
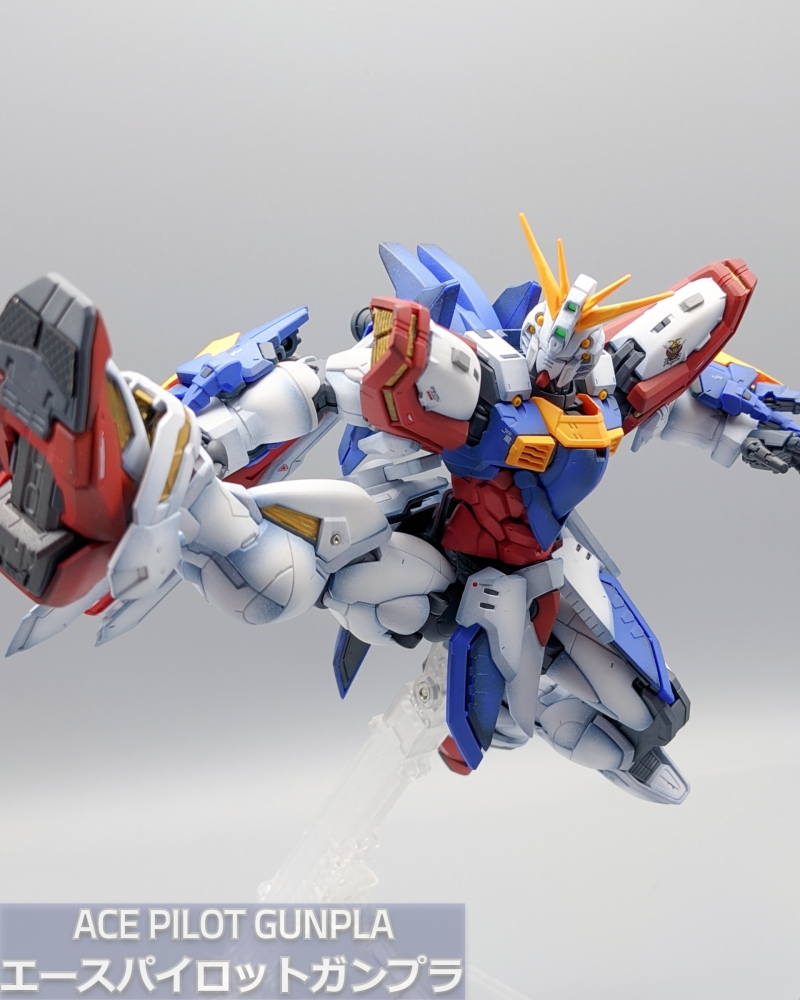
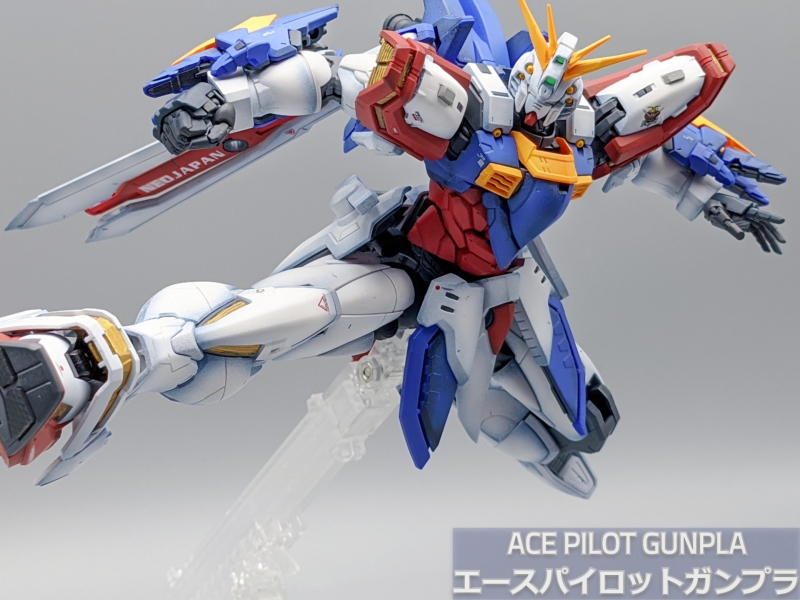
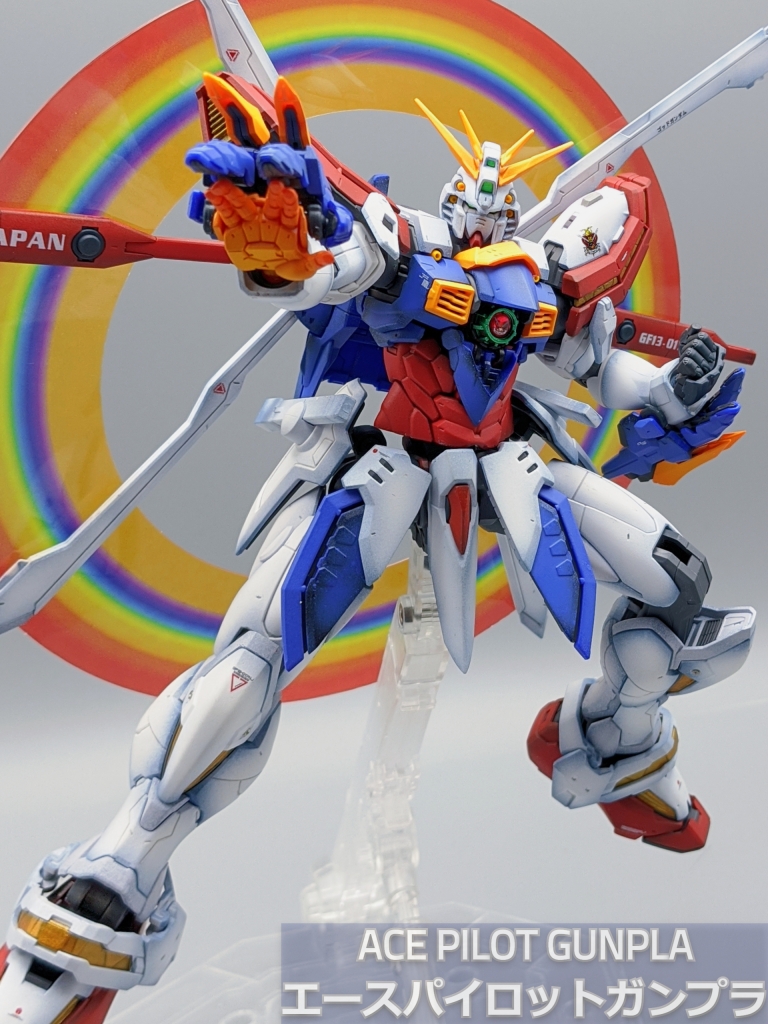
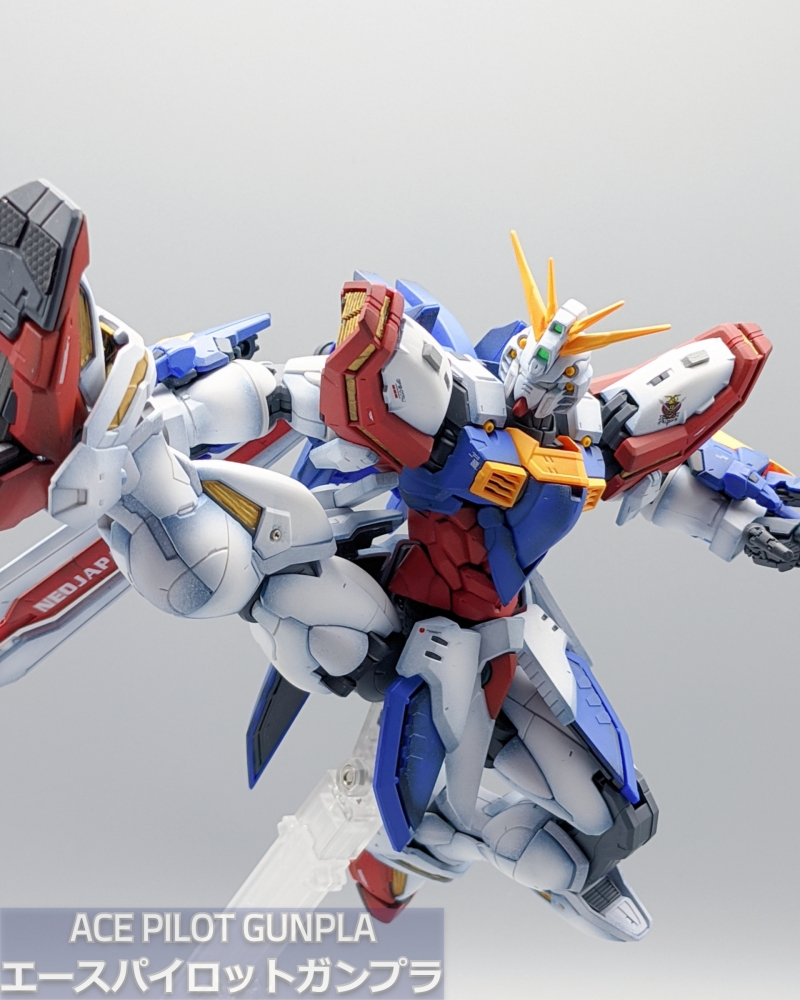
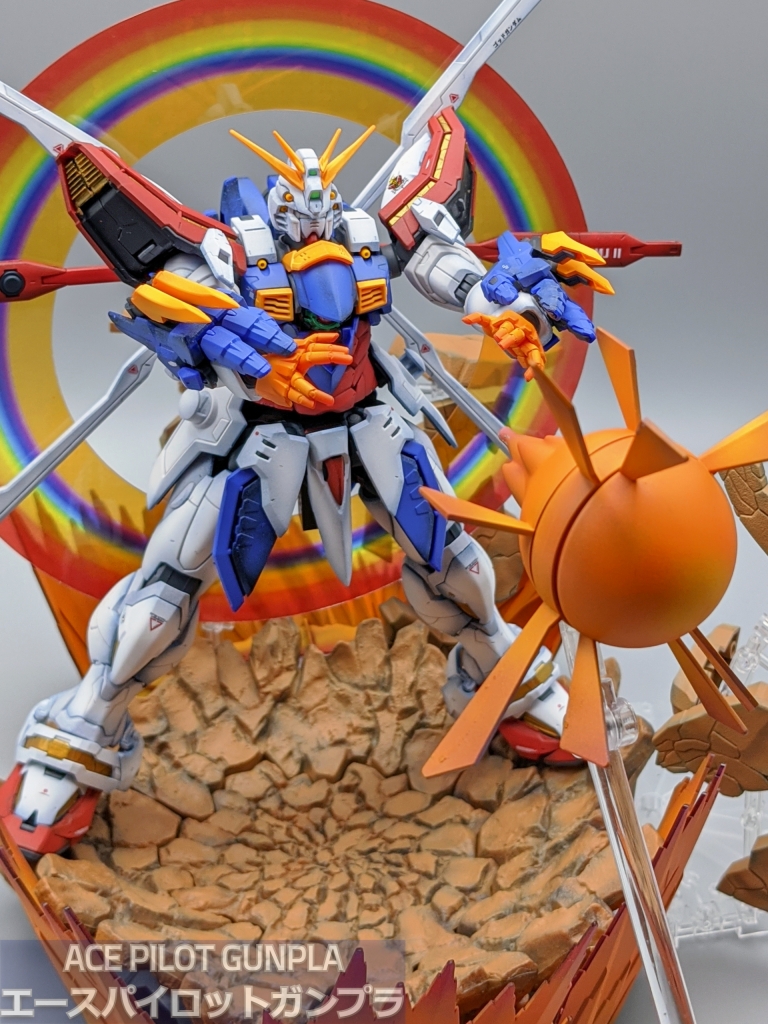
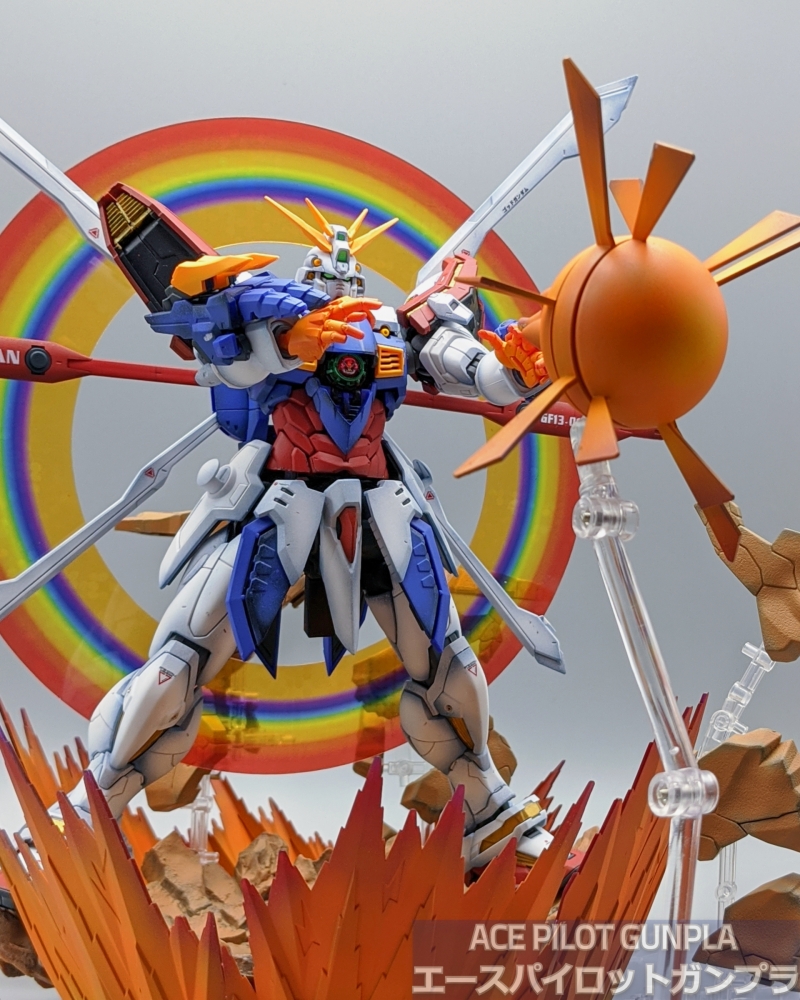
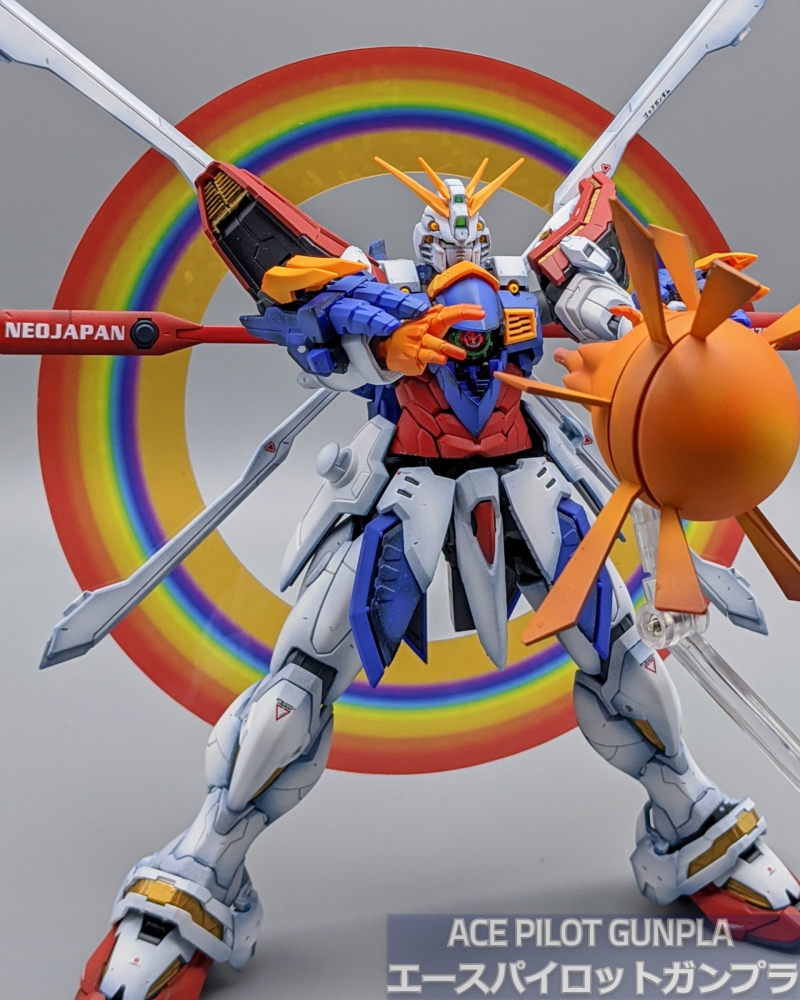
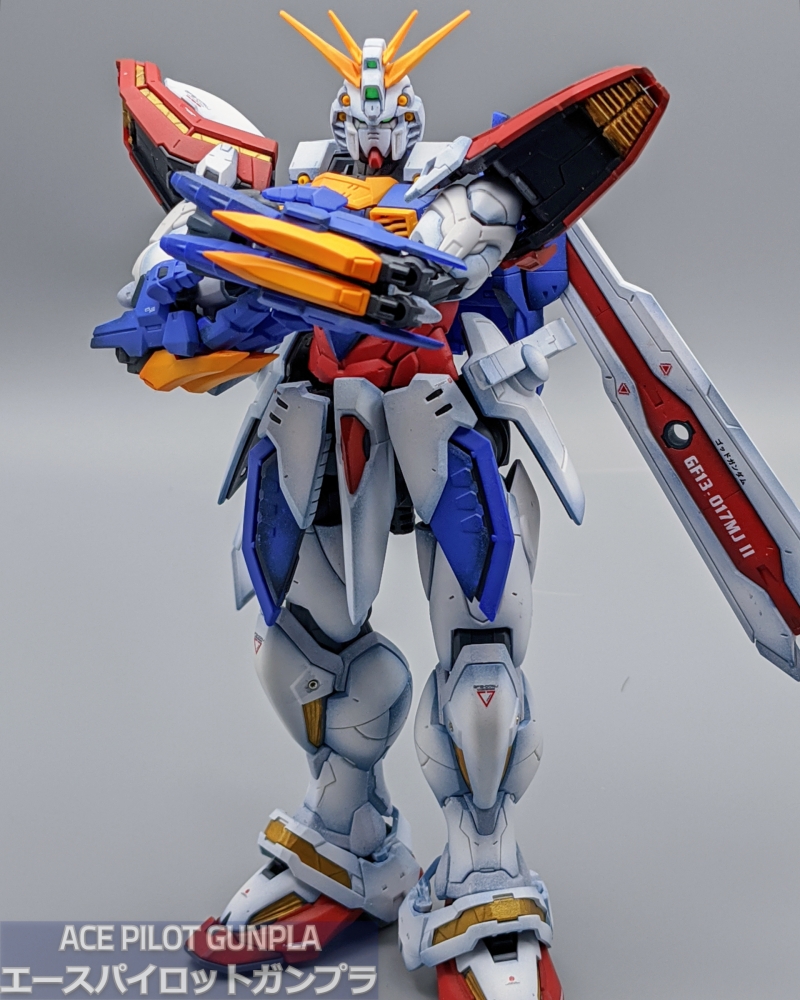
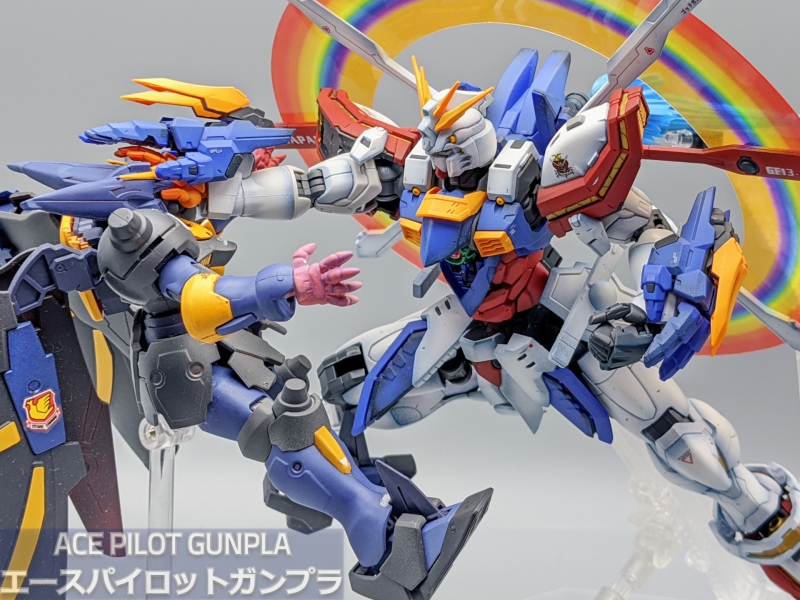
#leapyear birthday build! It’s been a long time since I’ve had a real birthday, so I decided to make this build really special! As you can tell, I went all out on the effect parts for the Hi-res God Gundam using some heat gradient shading for the first time! G Gundam holds a special place in my childhood since it was really similar to Street Fighter being fought with giant mechs. The series has just the right amount of absurdity and camp to be enjoyable for a re-watch!
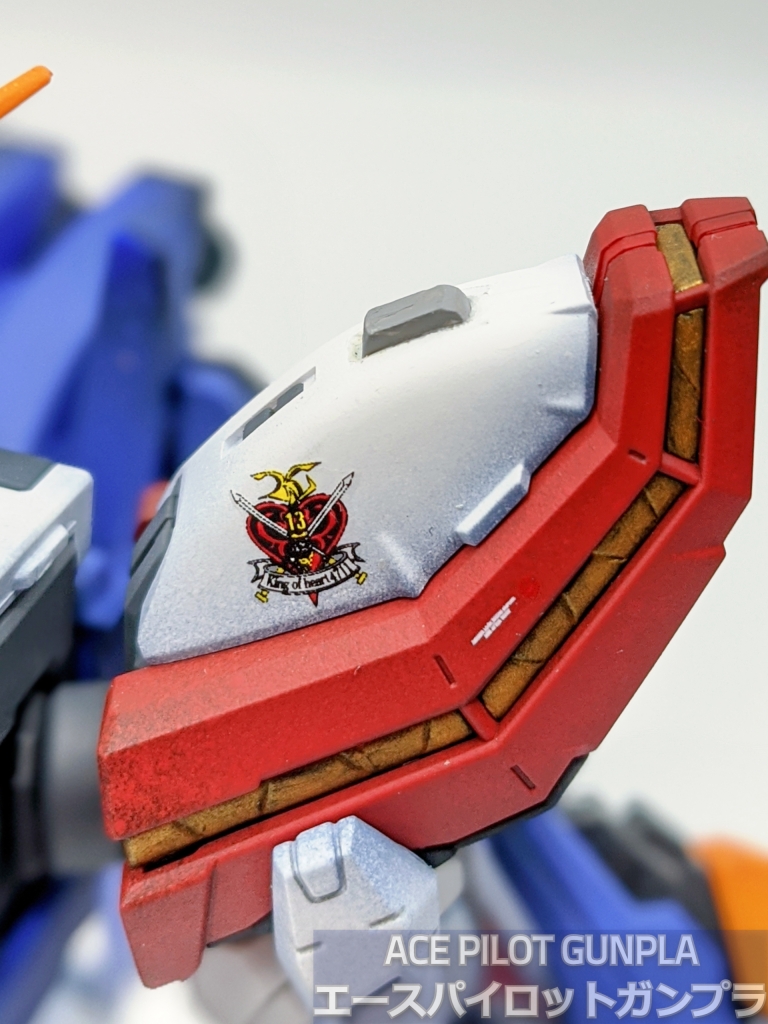
For this build, I used several new techniques for this build including drilling in vents, adding scratch plastic and using heat gradiant shading. All of these seem intimidating at first, but after practicing a few times, I was able to get the jist of each technique and implement them on the build. The heat gradiant turned out really well, and with the rock effect parts, the pictures I took look straight out of the show or a DBZ fight!

I went for the usual preshade and postshade combinations, albeit this time I tried to clean up better on the shading. I’ve noticed on several of my previous builds the shading comes off as blotchy or spotted up close, so while the shading on this kit stands out less, it looks much smoother as a result. For now, I think i’ll keep this method for my future builds!
Bandai has been consistent in improving their HiRM line of kits, with the God Gundam being one of the most ambitious yet. The attention to detail in parts like the chest and backpack are a great improvement over the 2001 MG kit. I decided to paint most of the vents in the shoulders and legs in gold to give the kit a look more reminiscent of the Gundam when it’s in Hyper Mode. Aside from the loose sideskirts and wrists, this version of the God Gundam has to be one of the most flexible kits I’ve ever built, and is able to get in some truly dynamic martial art poses. I’d highly recommend this kit if you can find it on sale!
As usual, build details have been listed at the bottom of this post. I’ve taken almost 100 pictures kit, so please enjoy the photo gallery below!


Black 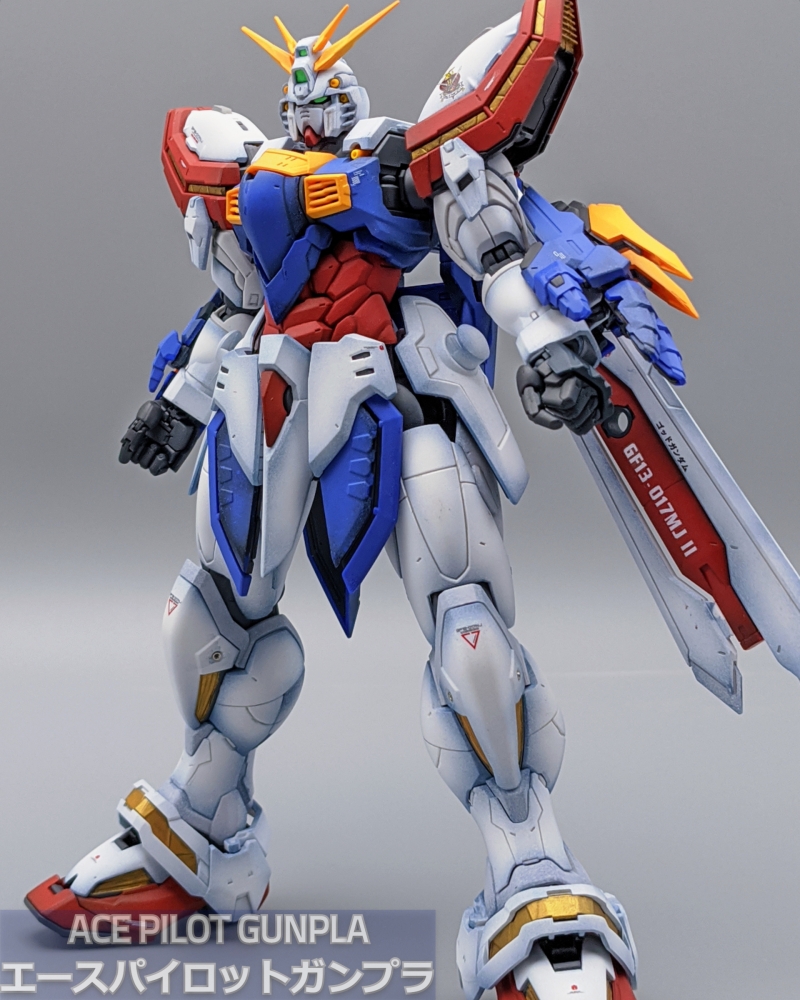
Grey 
White 
Back 


Victory 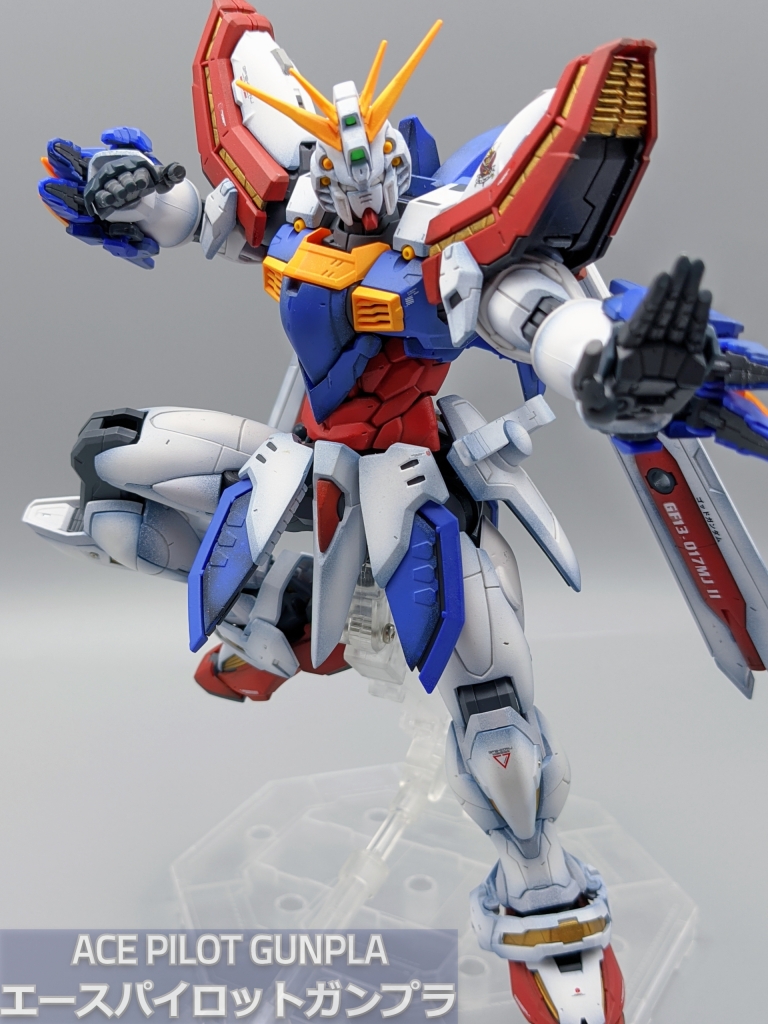
Modwork part I 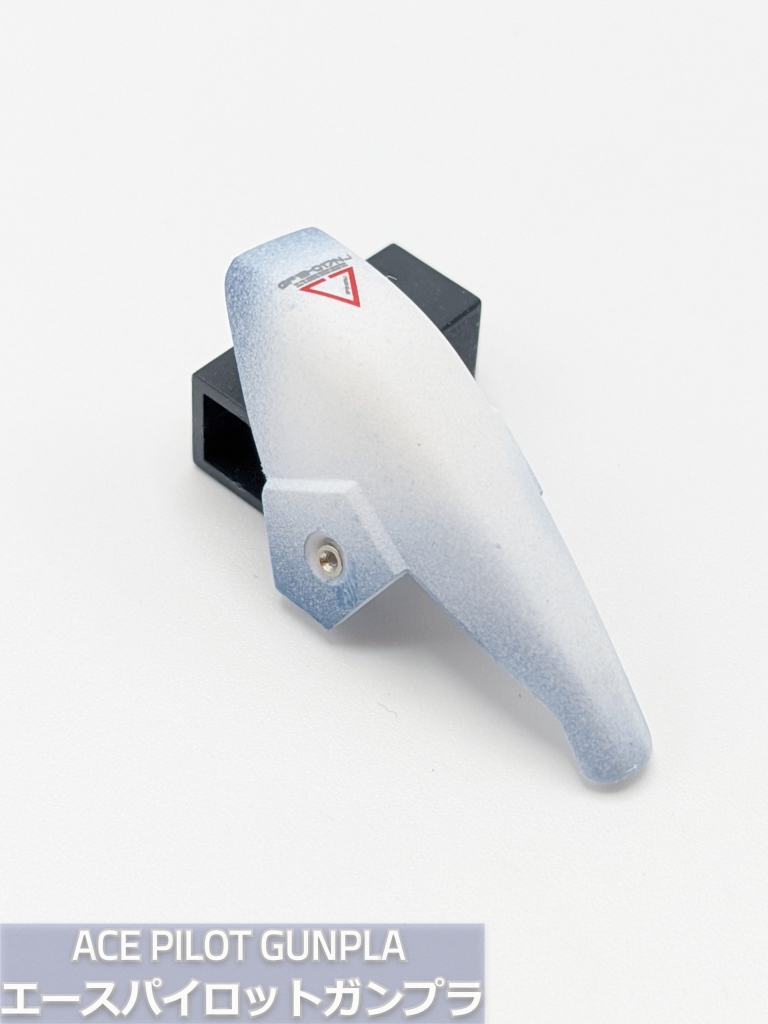
Modwork part II
Beam Saber
Fighting poses
Burning Finger


This hand of mine is burning red! 
It’s load roar tells me to grasp victory! 



Heat End


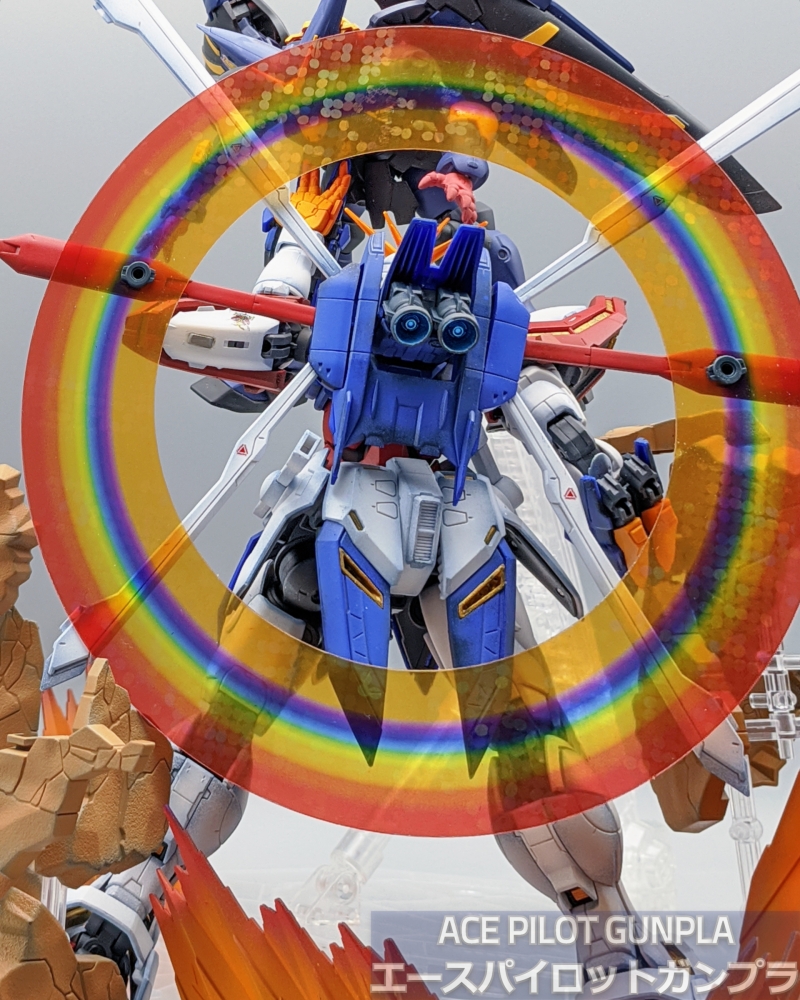
Heeeeat to 
Endo!
Seiki ha Tenkyoken part 1

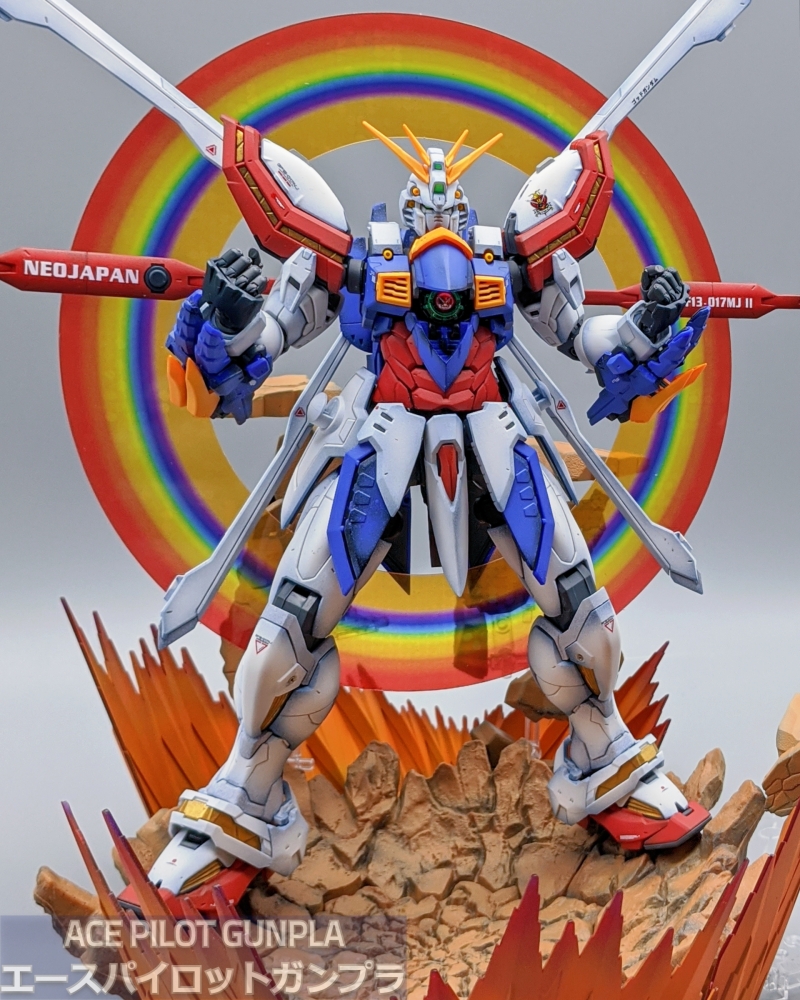
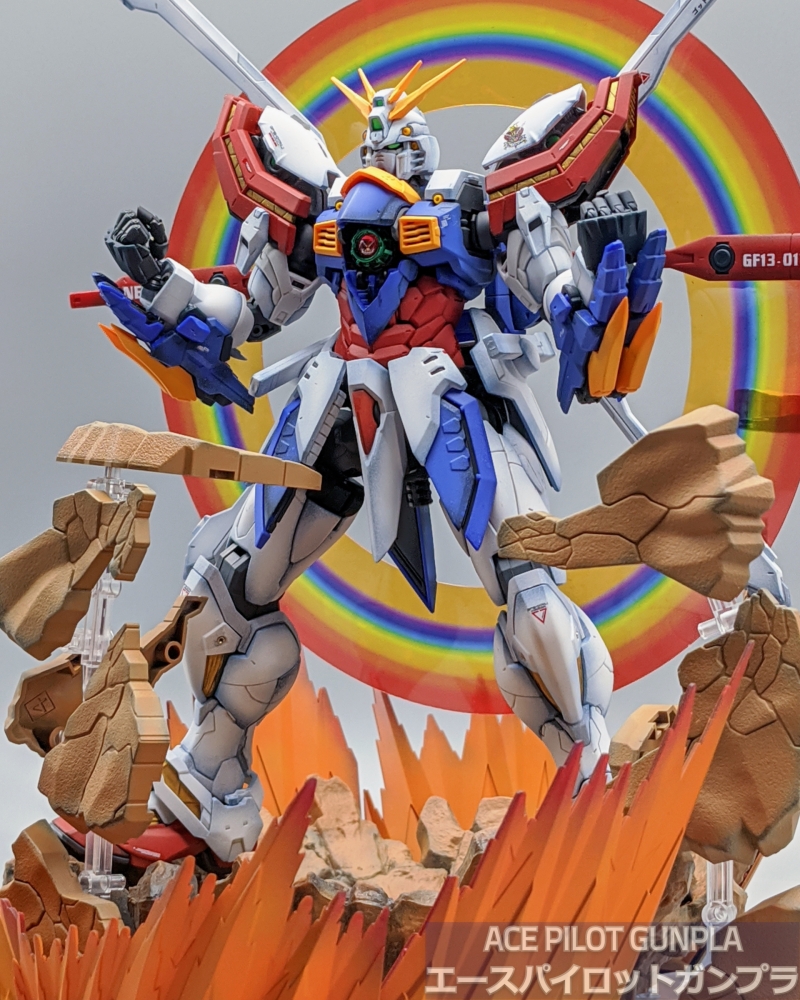


The School of the Undefeated of the East! 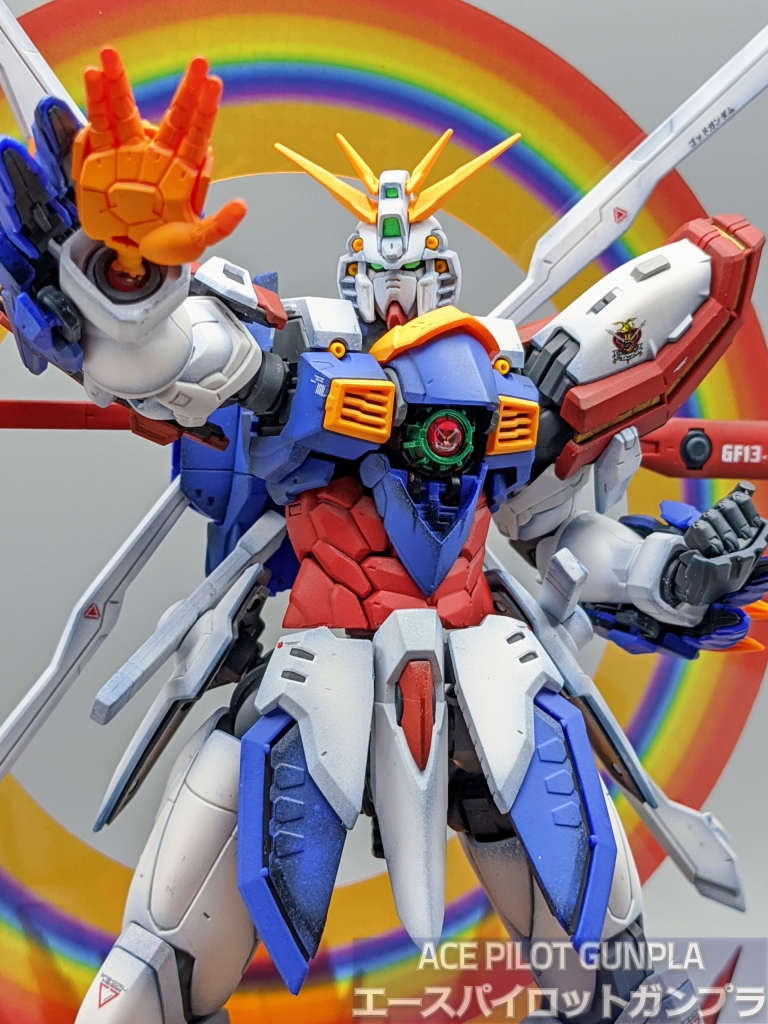
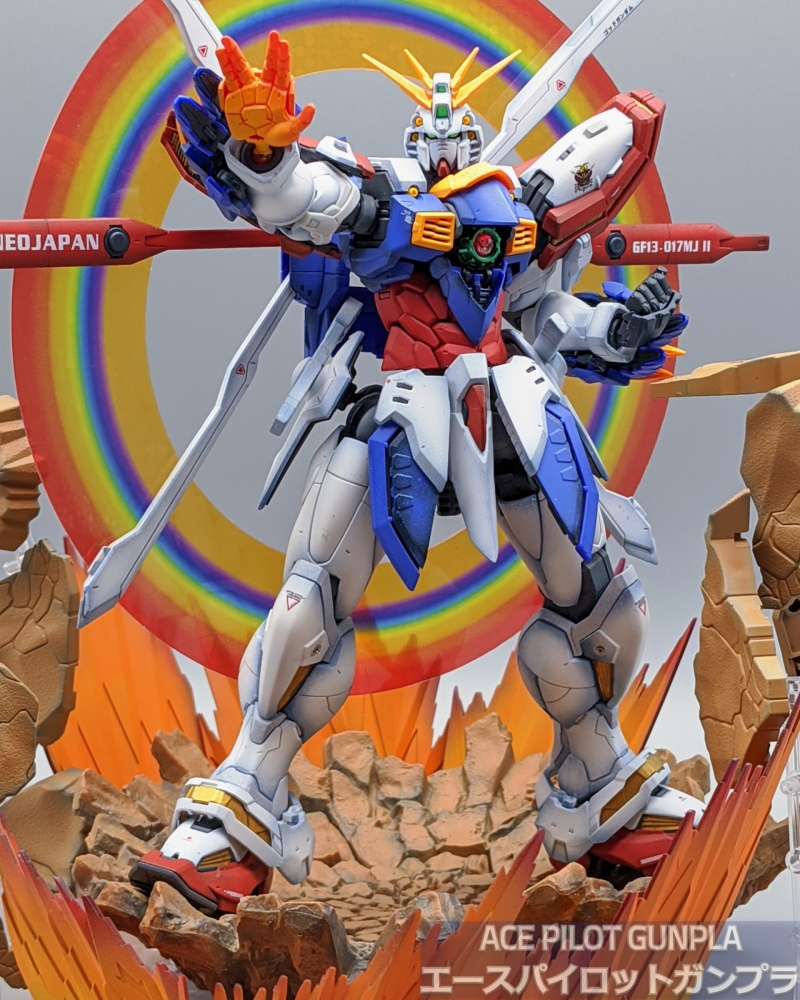
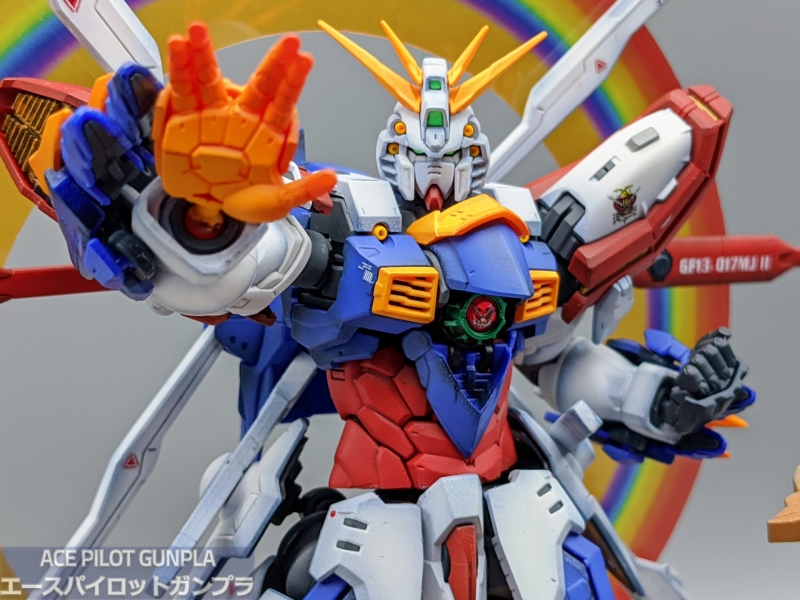
The Ultimate technique! 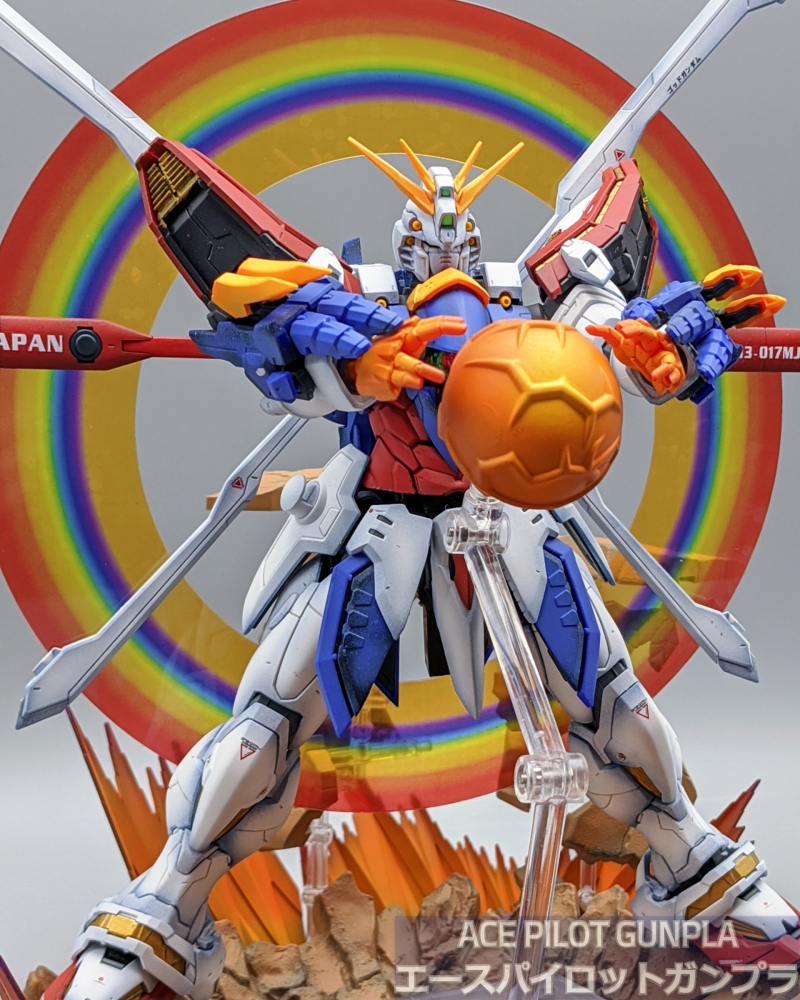
Seiki ha Tenkyoken part 2


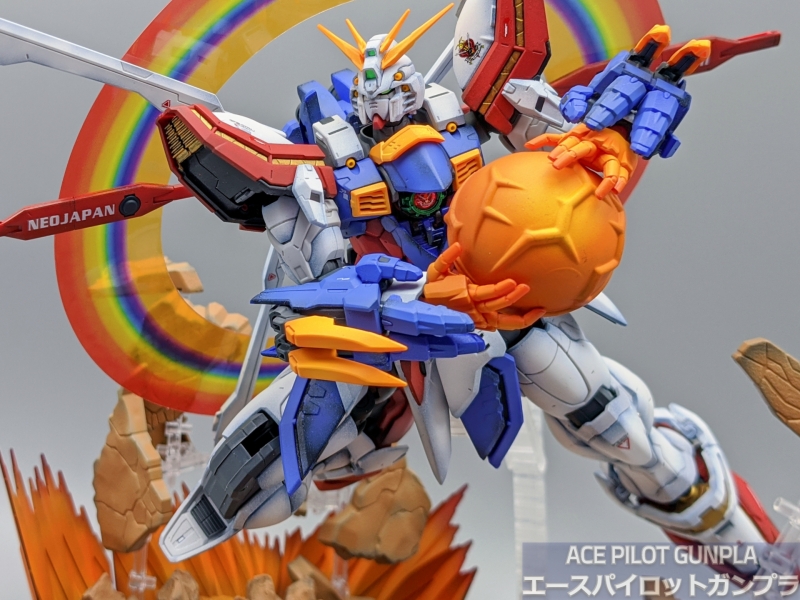


Seiki 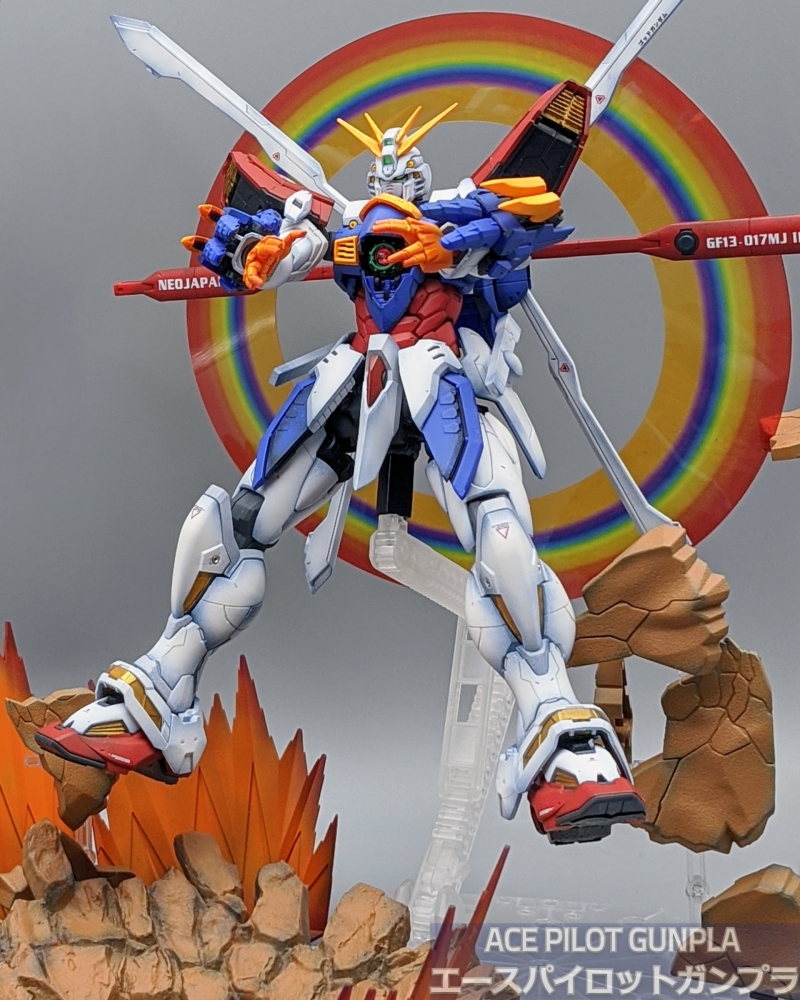
Ha 
Tenkyoooookennnnn!
Miscellaneous
Build Details
PROS:
- Incredibly articulate and able to get into some great martial art fighting poses
- Kit is easy to assemble and looks great out of the box
- Comes with several types of hands for posing plus great effect parts!
CONS:
- As expensive as a Perfect grade!
- Waterslides aren’t included and the font on the included stickers is a bit jarring
- Skirts and wrist fall off easily and thighs constantly rub up against skirts easily scratching paintwork
- Inner frame is a bit on the cheap side
Paints Used:
- Blue: 70% Gaia Colbalt blue+20% Bright blue+ 10%white. Added white for highlights
- Yellow: Base coat of Orange, then add white for preshade. Then 60% Orange Yellow + 40% Yellow with drops of white added for highlight
- White: intermediate blue preshade followed by white
- Grey-white: Intermediate blue preshade followed by 90% white+10% joint grey
- Red: Black preshade then 70% Red Madder+30% Rlm23red. Added yellow for post shade
- Dark Grey: At first used 60% gaia neutral gray 3 40%+ dark seagrey (mr color 331) but was too light. Added 50% gaia flat black to to that mix
- Gold: Gaia Pearl Gold
- Tamiya TS 100, Bright gun metal

