Writing with LIGHT Photography Tutorial
I've seen plenty of tutorials all over the internet, especially on Pinterest, about writing with light using your DSLR. The idea is about taking your DSLR and using the slowest shutter speed to capture hand written words spelled out using a light source. This idea seems so cool, I just have to try it!

You're going to need four very important things to make this project successful.
- A tripod
- Glow sticks (or flash lights)
- A person
- A DSLR
You will need a tripod because you need to keep the image as stable as possible. This ensures a more crisper image and you'll be better able to read the words. You may be able to do it handheld but you must have super stable hands.
Secondly, you'll need a light source. I chose to use glow sticks. They come in all sorts of different colours so you have a variety to choose from. Why not pick your favourite colour? These glow sticks are about 1 foot tall. I just felt that it would give me a better grip and better colour. I don't know if it will help my cause but we'll find out.
Next you'll need to find someone who will be willing to write a few words for you. Just make sure they know how to spell! My advice to you is to pick out easy words or let them spell out their own name. It will be fun for them and fun for you!
Finally, for the last and most important piece of the puzzle, your DSLR. You will need this to capture your subject and their handwritings!


How to do it
Note* I suggest you complete this project at night. You will achieve better colour.
The first thing you need to do is to set up your tripod. Depending on the height of your model and the design you want them to draw, you can adjust the height on the tripod. You should also try to find stable ground to place it on. An unstable surface makes it more likely to tip over.
Next thing you'll want to do is secure your camera onto your tripod. Make sure to secure it tightly so you don't risk your camera falling.
Now turn your camera on and switch to Bulb Mode (if it's not already on that dial). It's an incredibly easy setting to use. All you have to do is click to shutter and release it when you want, allowing you full control. You also have control over the ISO settings.
Now go crazy and have fun!
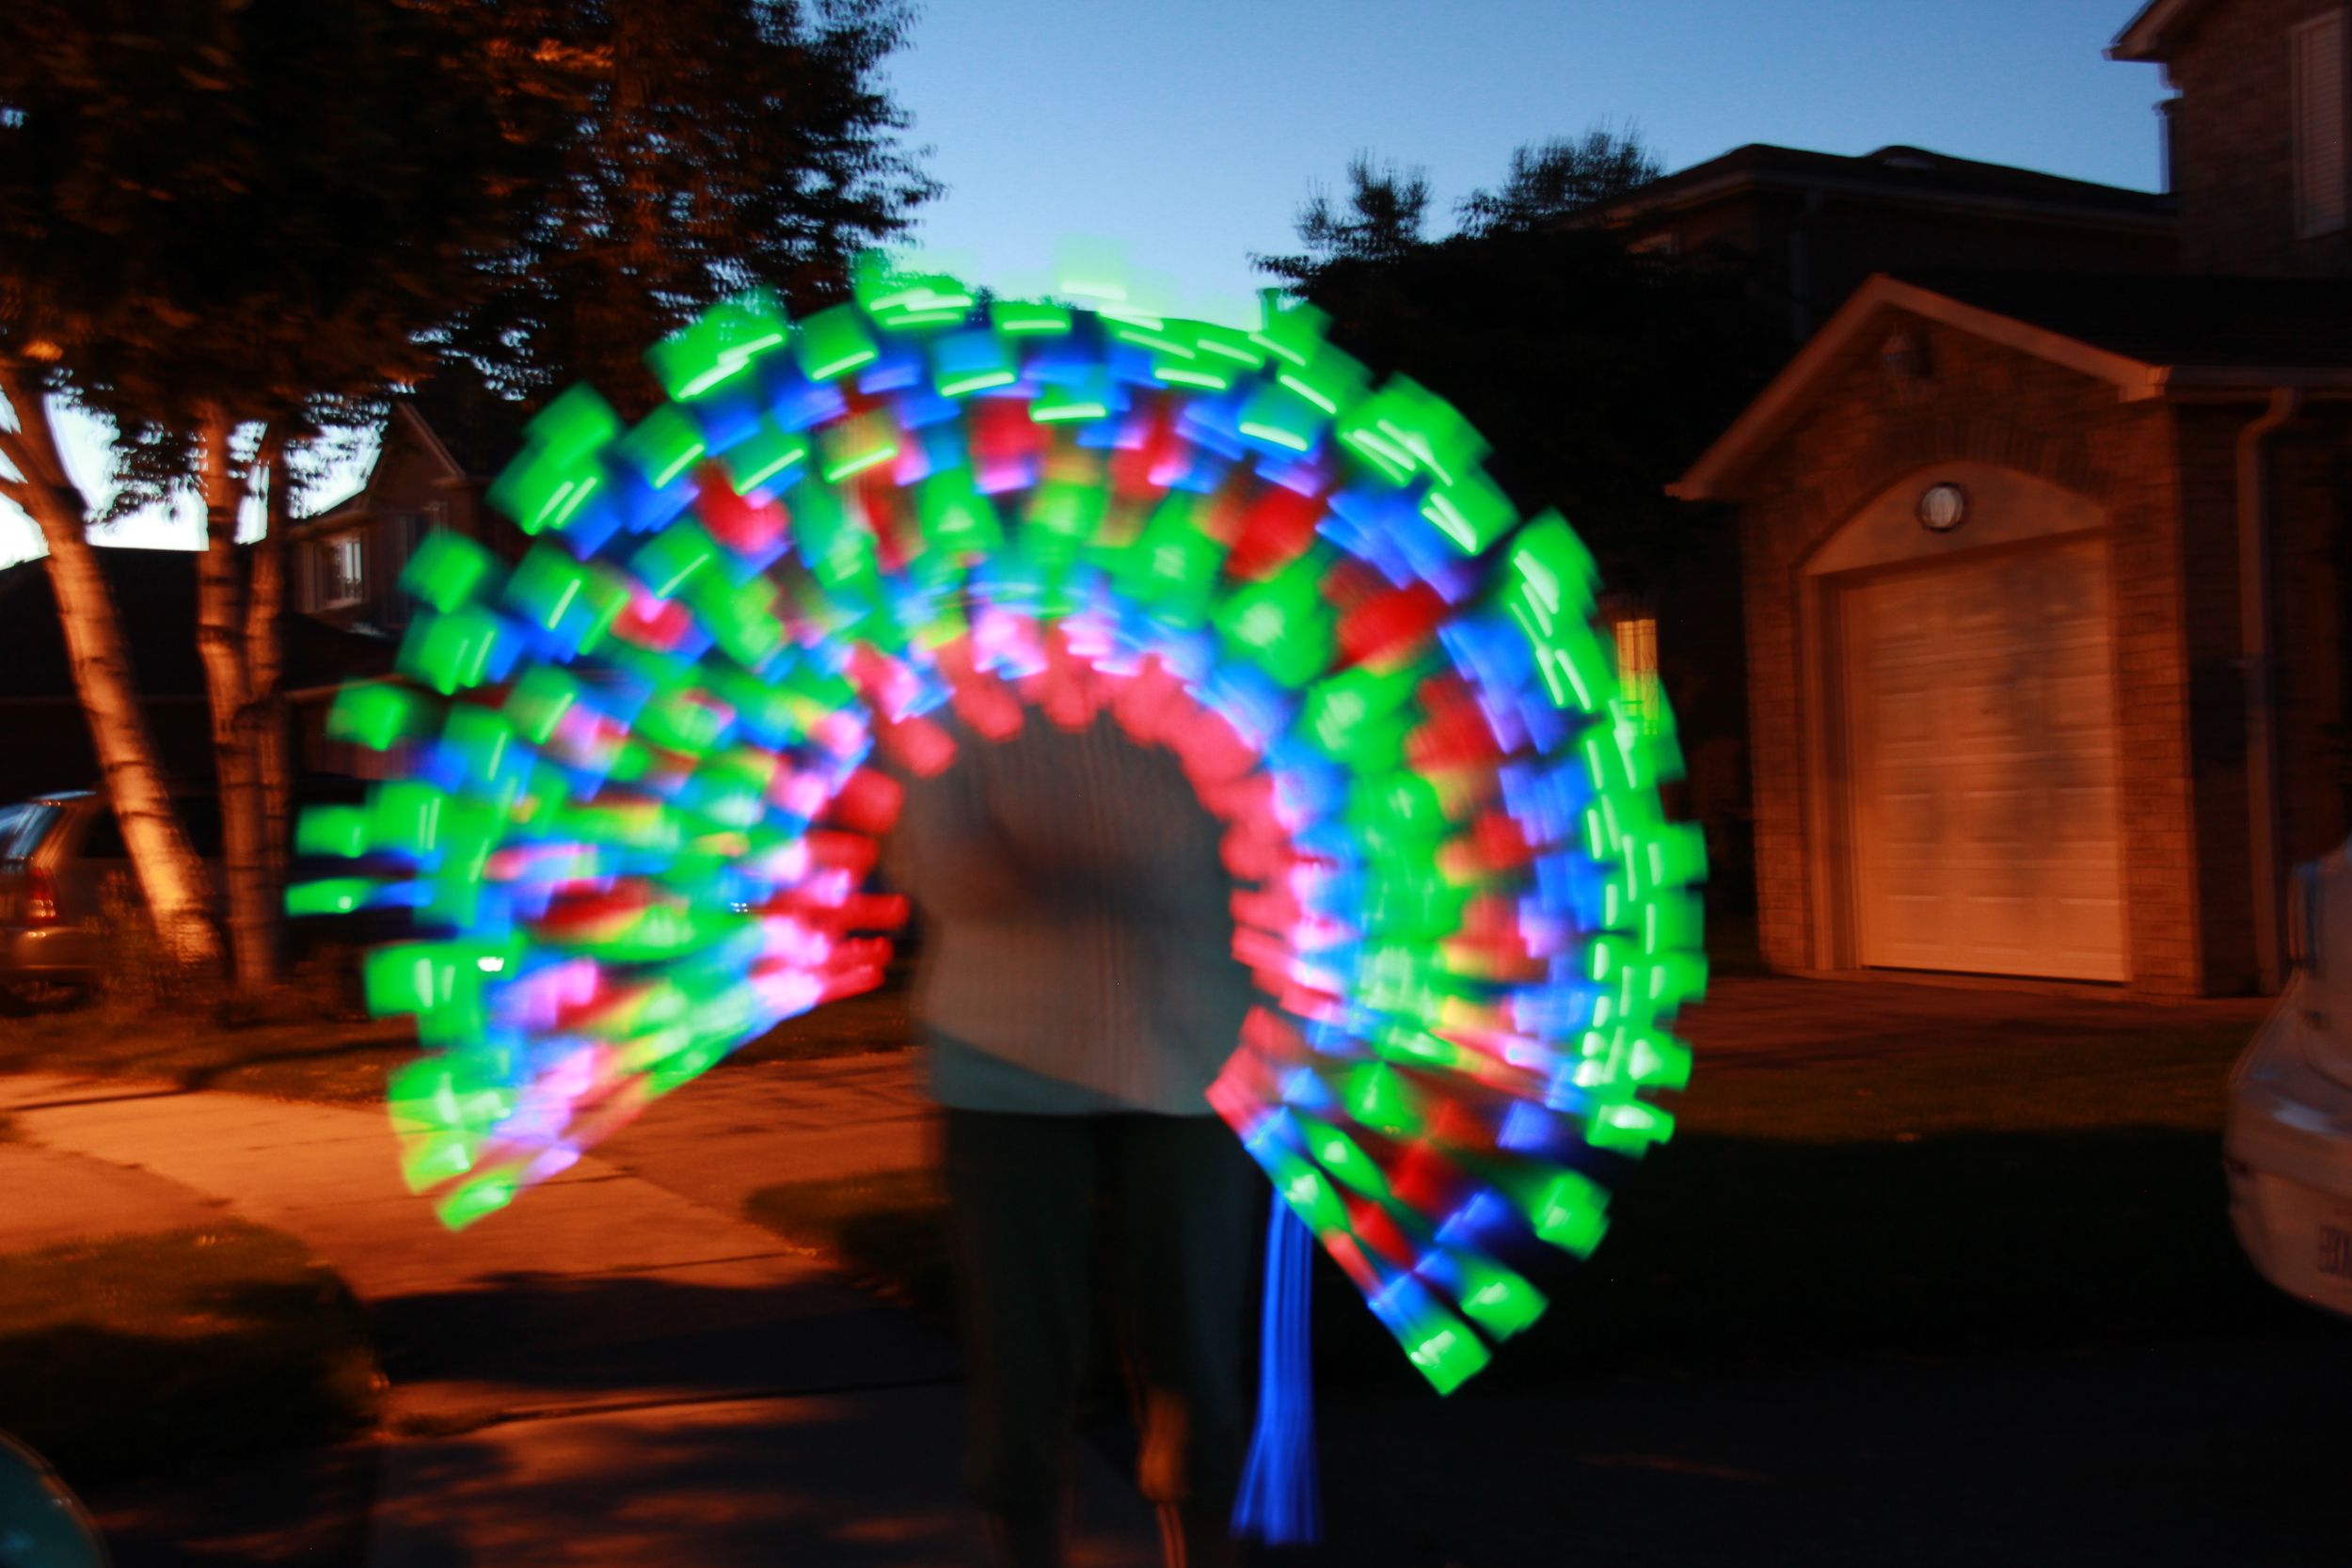

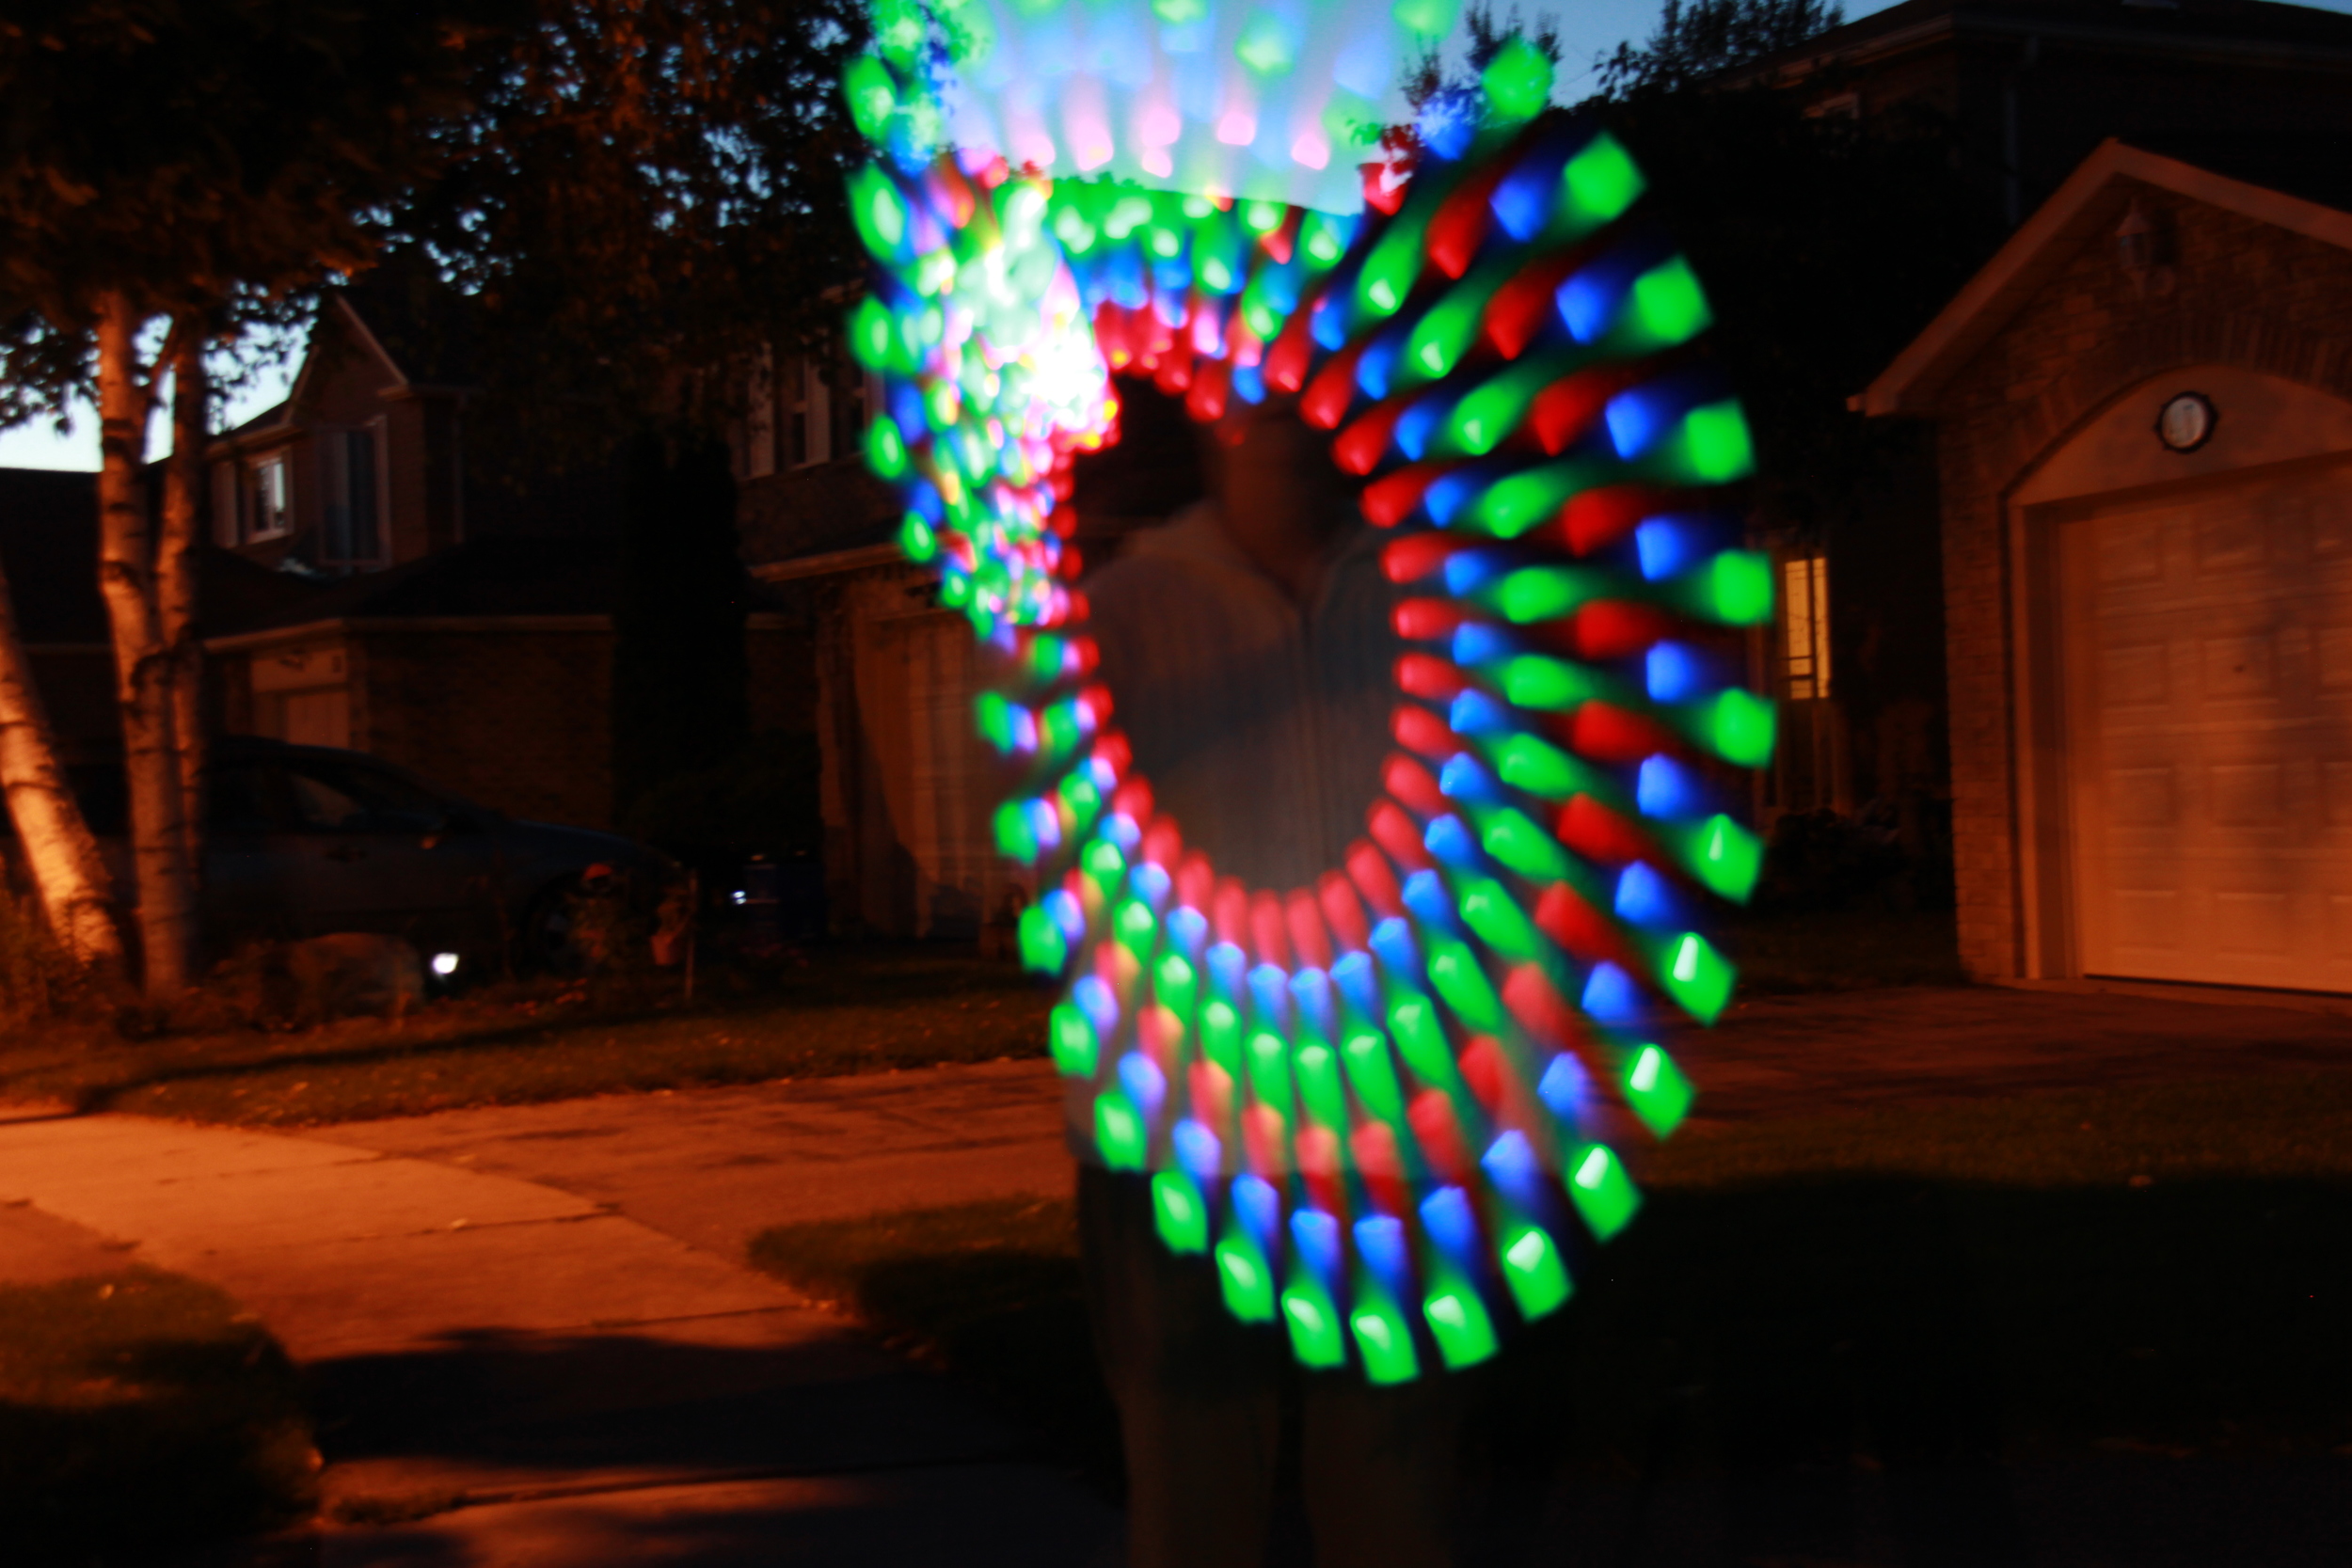
In conclusion, this way a very fun photo project! Obviously the images need some sharpening up and a better background but as a first time project, it turned out pretty well. In case you haven't noticed, the lights you are seeing are from my light sword. I tried using the glow sticks but it come up too dark on the camera.
So tell me. Have you tried this project? Did it come out similar to mine? Did you run into any problems and how did you fix them? Tell me!