Thursday Tip with Hali - Sewing a buttonhole (without a machine!)
Thursday Tip // How to sew a buttonhole (without a machine!)
Has this been your experience?? You sew a beautiful pair of jeans or your first lined coat and one of the very last steps is to sew a buttonhole (or buttonholes). You hem and haw about using the automatic buttonhole setting on your machine and you finally work up the courage to do it (it’s before 10pm so you’re good) and then something goes awry and it turns out a total mess.
Ugh!
If you haven’t sewn a lot of buttonholes yet maybe you are still feeling anxiety over actually doing it for the first time. You might think it’s crazy to sew a buttonhole by hand; it is definitely slower and you have to be precise with your stitches or it could look a little messy. However, with a garment that only requires one buttonhole (eg. jeans) you could certainly weigh the pros and cons and decide it’s totally worth the extra time and effort. Here are some tips to get you started with a hand sewn buttonhole.
A buttonhole stitch is similar to a blanket stitch but the buttonhole stitch has an additional knot that secures the raw edge of the fabric so you have less fraying and more stability. This stitch can be used to sew a buttonhole, a sew on snap or a hook and eye.

ID: A computer illustration of the buttonhole stitch. Photo Credit: yesterdaysthimble.com
For a machine sewn buttonhole, the machine will stitch tight zigzag stitches close together around the buttonhole with a bar tack at the top and bottom. A small sliver of fabric is visible between where you cut the buttonhole open and the zigzag stitches. This fabric may fray slightly over time unless you use a fray check solution.
The difference for a hand sewn buttonhole is that the buttonhole is cut open first and then stitched, encasing the raw edge of fabric with sturdy stitches that will keep it from fraying.

ID: a close up of a machine sewn buttonhole on rosewood coloured washed linen and a hand sewn buttonhole on an antique green linen/organic cotton.
How to sew a buttonhole by hand:
Prepare your fabric with interfacing. Use a small square just behind where the buttonhole will go or according to the pattern directions for that pattern piece. Sometimes the area where the buttonhole is supposed to be is already interfaced because of the location or type of pattern piece (eg. waistband, button placket).

ID: a small white square of interfacing on a small sample of WS Antique Green Linen/Organic Cotton.
Measure the diameter of your button. You can do this many different ways. A seam gauge is used here.

ID: A close up of a white hand holding a button and measuring it with a seam gauge. It measures just over 3/8”.
Mark the centre line for the buttonhole using the diameter of the button as the length. Also mark the start and end points of the buttonhole with a perpendicular line on each end of the centre line. Depending on the thickness of your button you may need to mark a slightly longer centre line to allow for the button to pass through. You can do a quick check once you have cut your line in a later step and just add some space then if needed. As you stitch your buttonhole will stretch out just slightly so keep that in mind as well.


Next, mark or stitch (using a running stitch) the buttonhole depth of 1/16” to ⅛” around the centre line and start/end points. This will act as a guide for your buttonhole stitches. If you use a running stitch it will be covered by the buttonhole stitches in a later step. For the running stitch, thread your needle with a single thickness of thread and tie a knot on the other end. You will use this same thread for stitching the buttonhole so cut a length of thread approx 25” long. This should be enough to complete one average sized buttonhole. For this sample I used Mara 70 (topstitching thread) in a gold color for better visibility. You could also use regular all purpose thread in a matching color for a buttonhole with slightly less bulk. Choose your thread based on the fabric you are sewing with.


After marking or stitching around your centre line, use a sharp pair of scissors or a buttonhole cutter to cut down the centre line, being careful not to cut past your start and end lines.


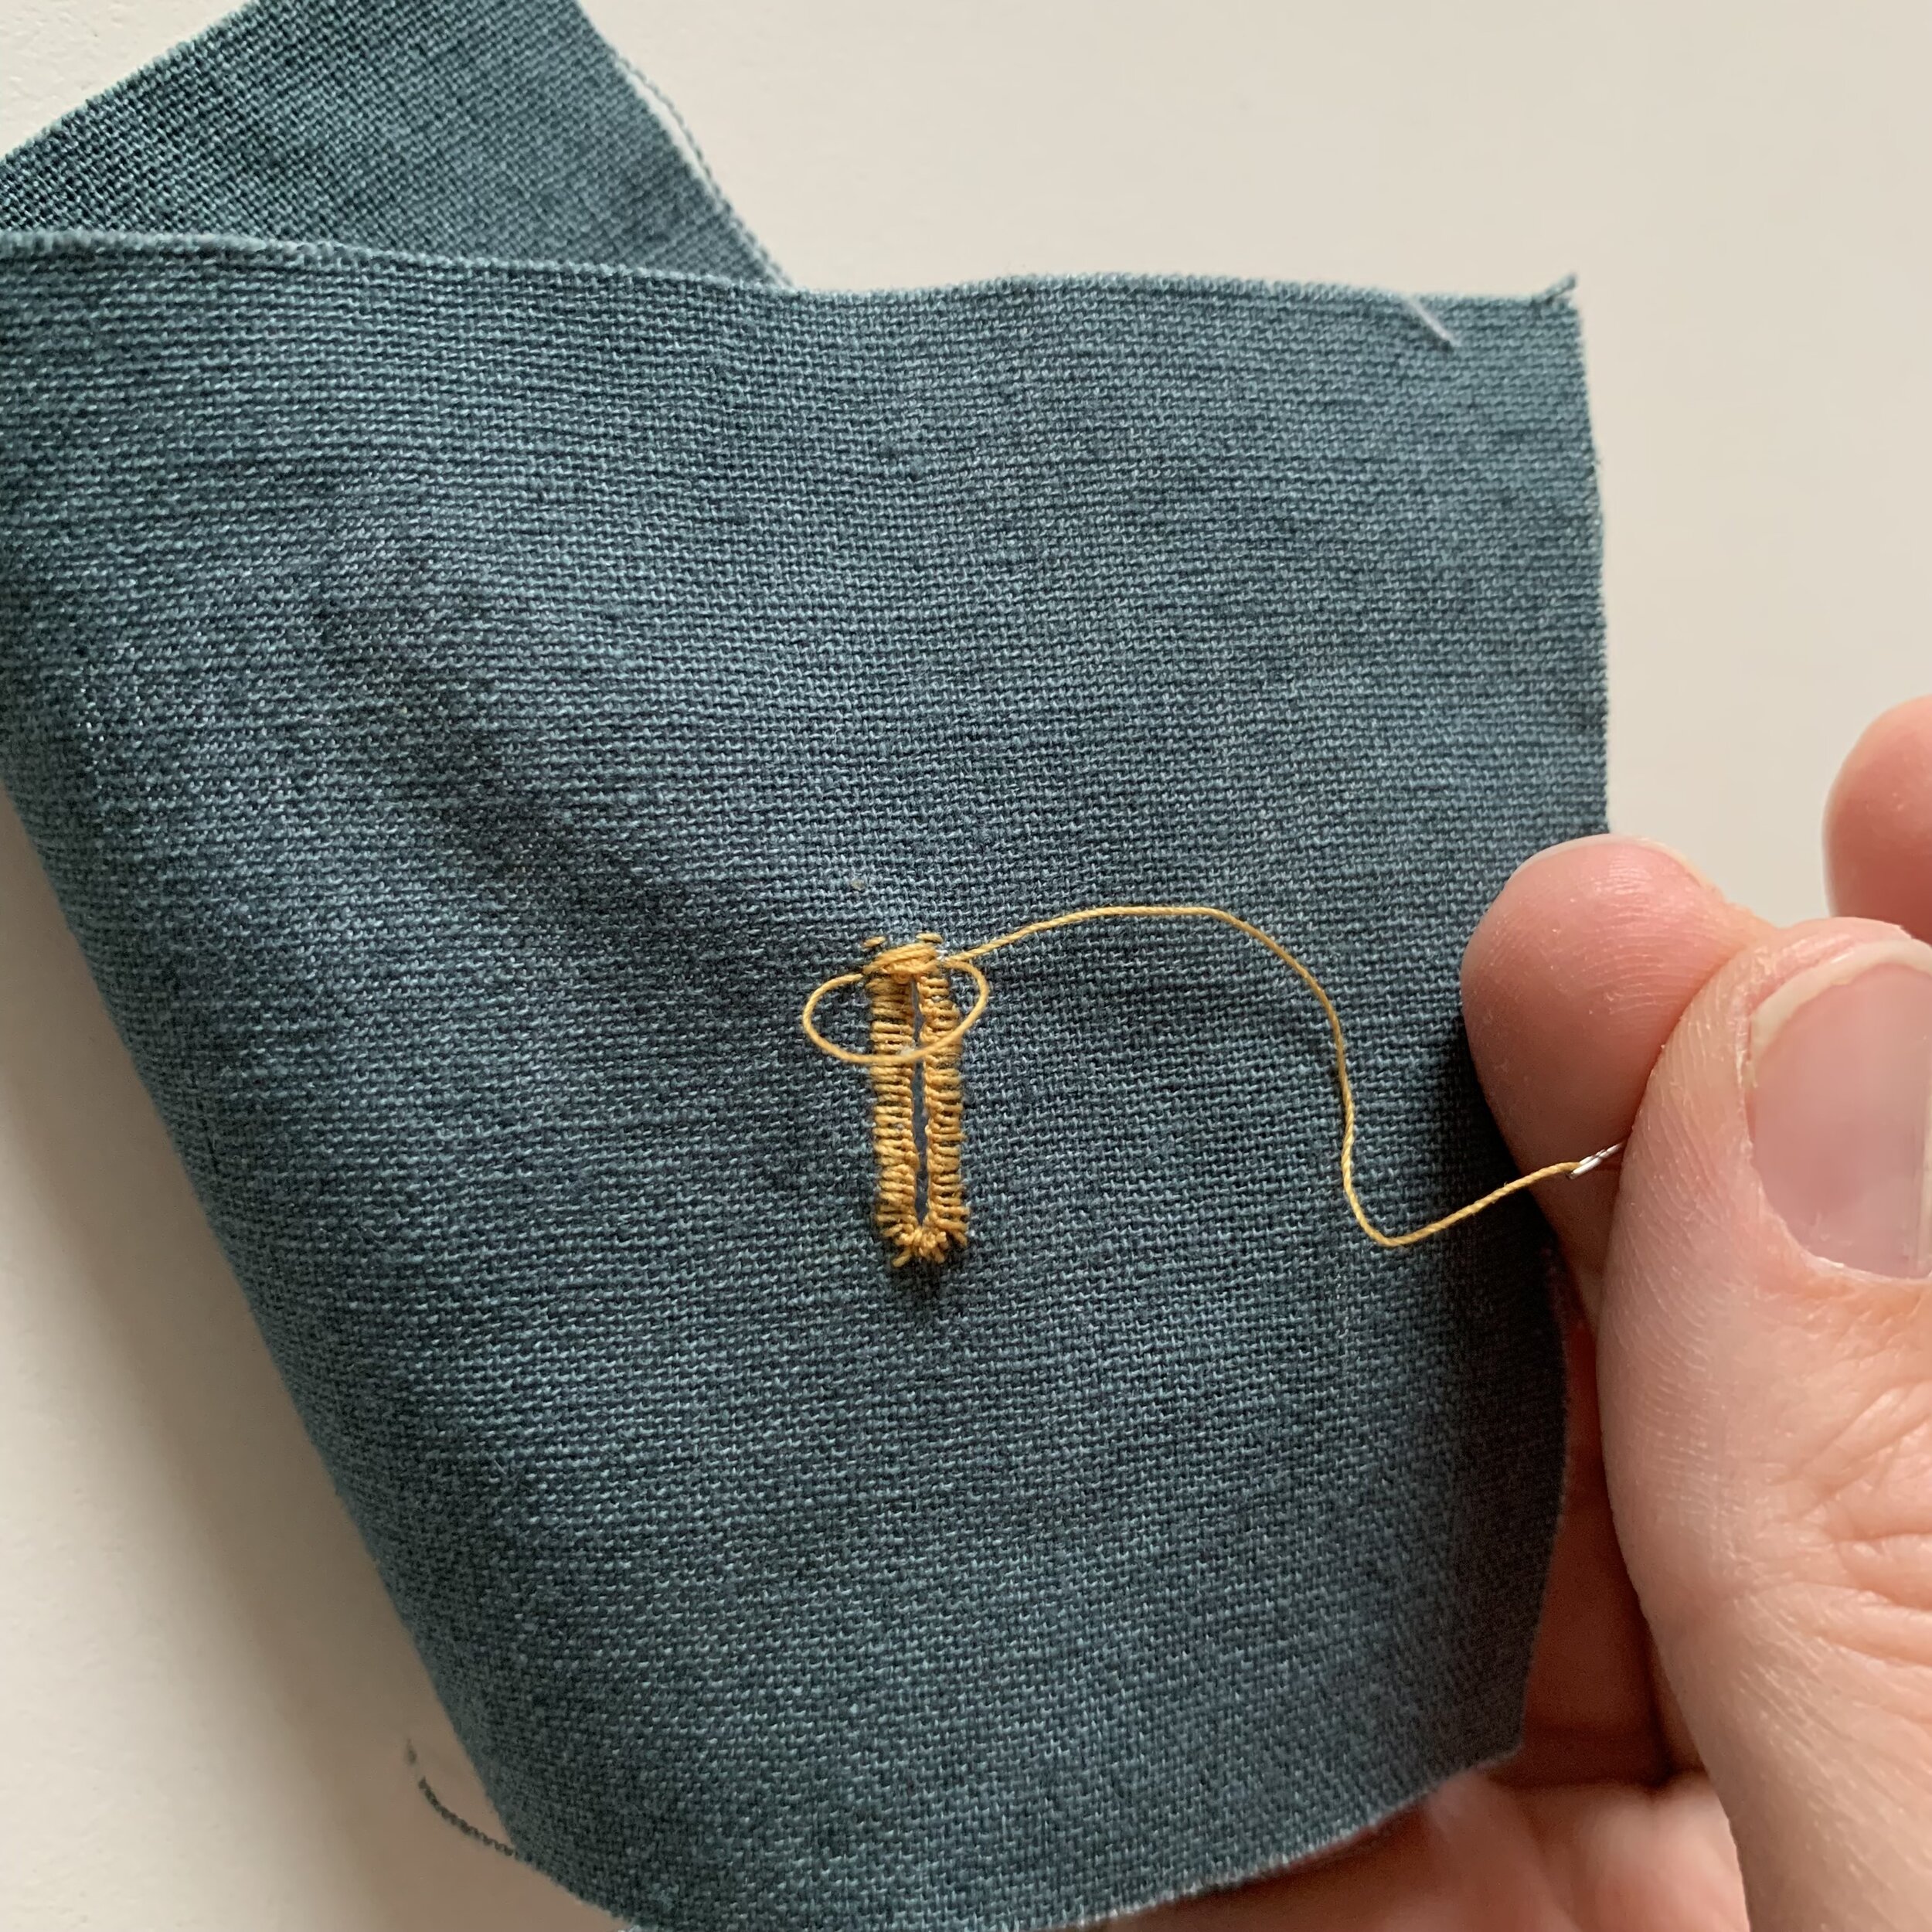
To start the buttonhole stitches, bring the needle up through the backside of your fabric coming out along the stitching line or ⅛” marked line. I found it easiest to start in the middle of the buttonhole instead of the ends but you can start wherever works best for you.
With your thread on the right, bring it around behind and under the eye of the needle, then slip it under the point of the needle bringing it back to the right. Draw the needle through the fabric, forming a knotted buttonhole stitch at the edge. Continue in this way around your buttonhole, bringing your needle up on the outside of the stitching line so the running stitches are covered while also keeping your stitches as close together as possible.


When you reach the short ends of the buttonhole you can use a satin stitch to make a bar tack or fan out your stitches to make a more rounded end or keyhole style buttonhole. Note: for a keyhole style buttonhole you will need to make a slightly circular cut on the keyhole end of the buttonhole before stitching. You could use a tailor’s awl in a pinch or a specific circular punch for this purpose.


To finish your buttonhole, draw the needle to the backside of your fabric and thread it back and forth through the stitches on the backside of the buttonhole. Trim your thread. If you have any running stitches that are showing or were missed in the buttonhole stitches, you can carefully trim them away but if you use a matching thread color they may not even be noticeable when you are done.


Fabric used in this sample is WS Linen/Organic Cotton in Antique Green - recently restocked!