Hand Stitched Buttonholes Tutorial
Maura Kang
With all the beautiful machine buttonhole stitches out there right now, why bother making hand stitched buttonholes? Sometimes, you want to add a beautiful vintage look to your project. Or you might be working with a very heavy coat fabric and are struggling to get nice machine buttonholes. Or maybe you just want to add that extra special look to a project.
Handstitching your buttonholes can add a vintage look to your finished project, and choosing the right threads will give it a professional polish that will make it worth the extra effort. We’ll show you step by step how to mark, stitch, and cut your buttonholes for perfect results each time.
We are going to use this extra fine 100wt thread, InvisaFil, to stitch together the edges of our buttonhole. As the thread will be sitting under the decorative stitches, we don’t want it to show or add any bulk. Invisafil is a 100 wt polyester, so, while it is strong, the stitches will disappear in the fabric and won’t be seen.

We will also need a gimp thread to add extra strength and a bit of lift to our buttonhole. For this we will be using HomeDec. HomeDec is a very strong polyester thread that comes in three weights (30wt, 40wt, 60wt). We will be using the heaviest 40wt for this project, in a color to match the fabric.

For our decorative buttonhole stitch, we will use this 12wt double gassed cotton thread called Spagetti. The tight twist will make stitching easy, and the 12 weight thread gives a nice bold finish to the buttonhole.

We will need two hand stitching needles. For the fine InvisaFil thread, we’ll be using a #11 sharp needle. And for stitching with the heavier Spagetti, we will use a #7 embroidery needle which has a larger eye to accommodate the thicker thread.

Using a spacing tool and some tailors chalk, evenly mark the starting point of each of your buttonholes.

As buttons all have different depths, here is a trick to mark the length of your buttonhole. Wrap your chosen button with a piece of twill tape, going around the fullest part of the button. Pin the ends of the twill tape.

Now pull out the button and lay the tape flat. The distance from the pin to the folded edge will be the length of your buttonhole.

Measure this length and mark the end of each buttonhole. Use a straight edge and some chalk to mark the buttonhole line.


Using a buttonhole cutting tool like this one by Clover, cut along this line. Cut and finish only one buttonhole at a time.

Thread a #11 sharp needle with InvisiFil, tying an overhand knot right behind the eye of the needle to prevent it from unthreading. Now begin to do a close whipstitch all along the open edge of your buttonhole, to hold the layers together.

Next, thread a #7 embroidery needle with a length of the Spagetti. Now, cut a length of the HomeDec thread twice the length of the buttonhole plus another 1 inch. (We’re using a bright, contrasting color in this demonstration so you can see it, but if you do it yourself, you should choose a thread color that matches the fabric). Hold or tape the gimp thread along the cut edge of the buttonhole. Starting at the back end of the buttonhole begin working a buttonhole stitch along the edge, catching the gimp thread underneath your stitch.

Work the buttonhole stitches close together to for a nice pearl edge along the cut edge of the buttonhole. When you get to the front end of the buttonhole work 3 or four stitches around the curve, before going back down the other side of the buttonhole, making sure to still catch the gimp thread underneath.

When you are back at your starting point, work a tack stitch of 3 to 4 stitches across the width of the buttonhole. Pull your thread to the underside and thread the end through the under side of your stitches before trimming it off. Thread the gimp thread through the large eye needle thread it to the underside, and cut it off. Repeat this for all of your buttonholes.

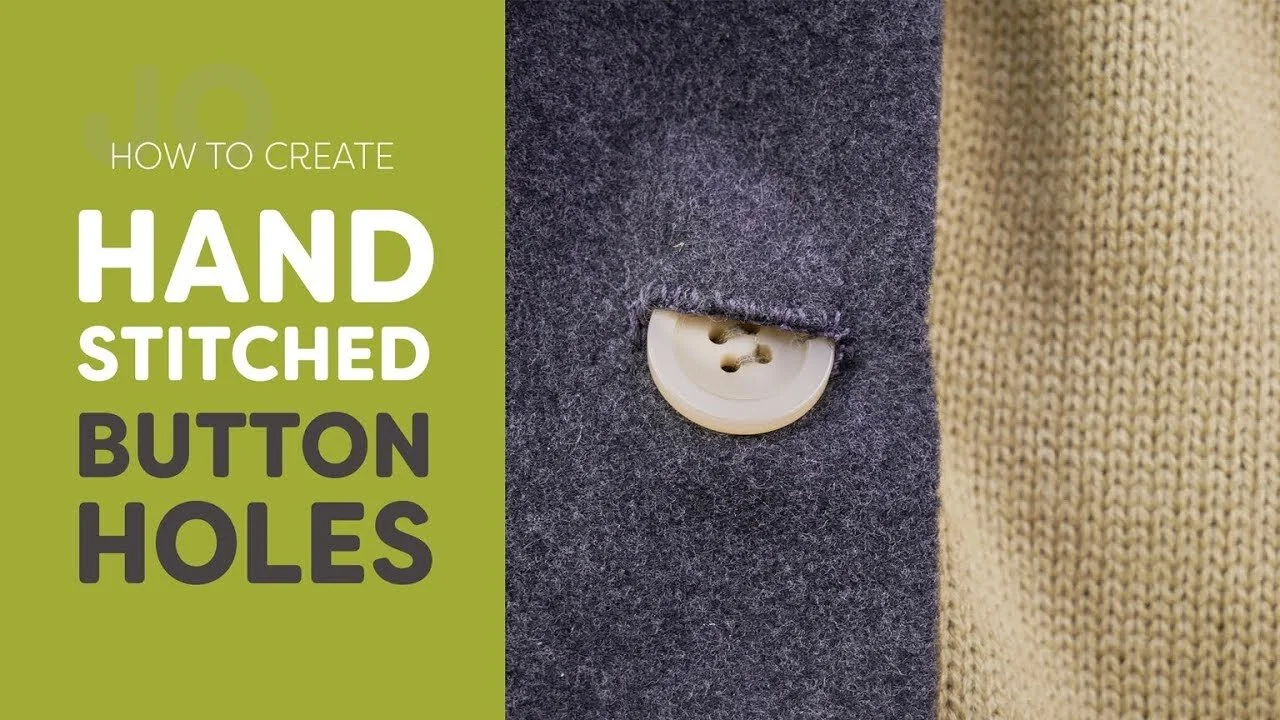
That is all there is to it. While this is a bit time consuming, it will definitely add a special touch to your project. Pictured below is a finished buttonhole with a gimp thread that matches the color of the fabric.

Inspired to sew with WonderFil threads? Head on over to shopwonderfil.com for a list of stores and retailers you can purchase from. You can also sign up for our free newsletter to receive more educational sewing tips, tutorials, and free patterns. Register by clicking here! We’ll see you again next time!